Thursday, December 6, 2012

Presents from ENGLAND

Howdy hey there!

So, with the holidays around the corner, there will be an increase in the baking! (Especially with Finals looming over my head...) That being said, this is not about a baking post per se, but baking related. I have this excellent friend of mine that sent me my annual Christmas gift from all the way across the Jolly Good Pond, and I was so surprised and touched by her gift--she sent me cupcake holders!! Aren't they adorable?


Thank you so much Miriam!!!
peace&hearts,
Geezee
(Shout out to the guys at work)


Monday, December 3, 2012

Applesauce Brownies

With the holidays here that means one thing, break out the stretchy pants because it's time to put on that holiday poundage! Well I woke up this morning with an unbelievable desire for brownies (let's be real, I just wanted to procrastinate my studying) but I also knew that I was out of oil, what's a girl to do?


Well believe it or not I heard that you can substitute no sugar added applesauce for oil in brownie mix! I have to say I was a little skeptical at first, but truth be told, these brownies actually taste really good--and not to mention they are loads healthier! I basically followed the directions on the box except I only used one egg. Apparently not using oil changes the texture of the brownies which I could see right away when mixing. Using only one egg instead of two makes them slightly "fudgier" but it still has a cake like consistency. But other than that I still used 1/4 of water and 1/2 a cup of applesauce instead of oil.

These healthier brownies taste wonderful, and I can eat seconds without feeling so guilty, especially around the holidays. See? It's a win win!

Happy baking y'all!
peace&hearts,
G.
Even Spider-Man was trying to snag some :)
Yum! (sorry about the bad nail polish)

Tuesday, November 27, 2012

I'm Back! And With Nutter Butter Balls!!!

Howdy hey y'all!!

 I hope everyone had a FANTASTIC Thanksgiving, I know I did! I ate way too much, but it was totally worth it!

I know it's been way too long since I last updated my blog, but I hope this will make up for it. I have decided to break into the "candy" aspect of baking, and what screams Christmas candy like Nutter Butter Balls?? I decided to do a test run this past weekend in order to figure out if they would be delicious enough to pass out to friends and family closer to the holiday season. The best part about these? It only has three ingredients! I used an entire package of Nutter Butters (all but 5) cookie and creme, Fat Free cream Cheese, and microwavable Milk Chocolate. Sounds good doesn't it?

Here are my supplies! Simba was trying to help,
but that didn't last long.


First I crushed up the cookies with a food processor, I don't have an electric one so my arms got tired really quickly...I suppose I should have just put them in a freezer bag and crushed them with a hammer...


Then I added the cream cheese, I recommend adding it when it's room temperature, it's easier to mix it in then.


After that I took the mixture and rolled it between my hands into about 1" in size.


Afterwards comes the fun part, dipping them in Chocolate!!!! (Melt according to the directions on the package.)


Ok, I lied, here is the really fun part, after you let the chocolate set in the fridge you may eat to your hearts content!!


Enjoy your new Christmas Candy Addiction!!

peace&hearts,
G.


Wednesday, February 15, 2012

Valentine's Day Cupcakes!!!!

Howdy Hey Y'all!

First, let me apologize for not posting recently, as you may or may not know, I am a college student who unfortunately doesn't have time to bake near as much as I would like. Very sad, I know. If I could, I would make a living out of baking. There's just something about getting completely lost and out of my head while creating something that is so incredibly relaxing. Seriously, if I am having a bad day, baking turns my whole day around. And who doesn't like that?

Anywho, my latest project was heart cupcakes! I found these on the greatest website ever--Pinterest. And I decided to recreate them for my boyfriend on Valentine's Day. (We weren't supposed to give gifts to each other on account of our Anniversary being two days later, so I thought cupcakes would be a nice surprise. Even though he doesn't care for surprises, but let's be real, who wouldn't want a cupcake surprise??? Exactly.) These really were not all that difficult to make, but I am sorry I did not take more pictures throughout the whole process like I normally do. But I will take care to explain the process.

peace&hearts,
G.

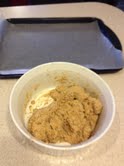
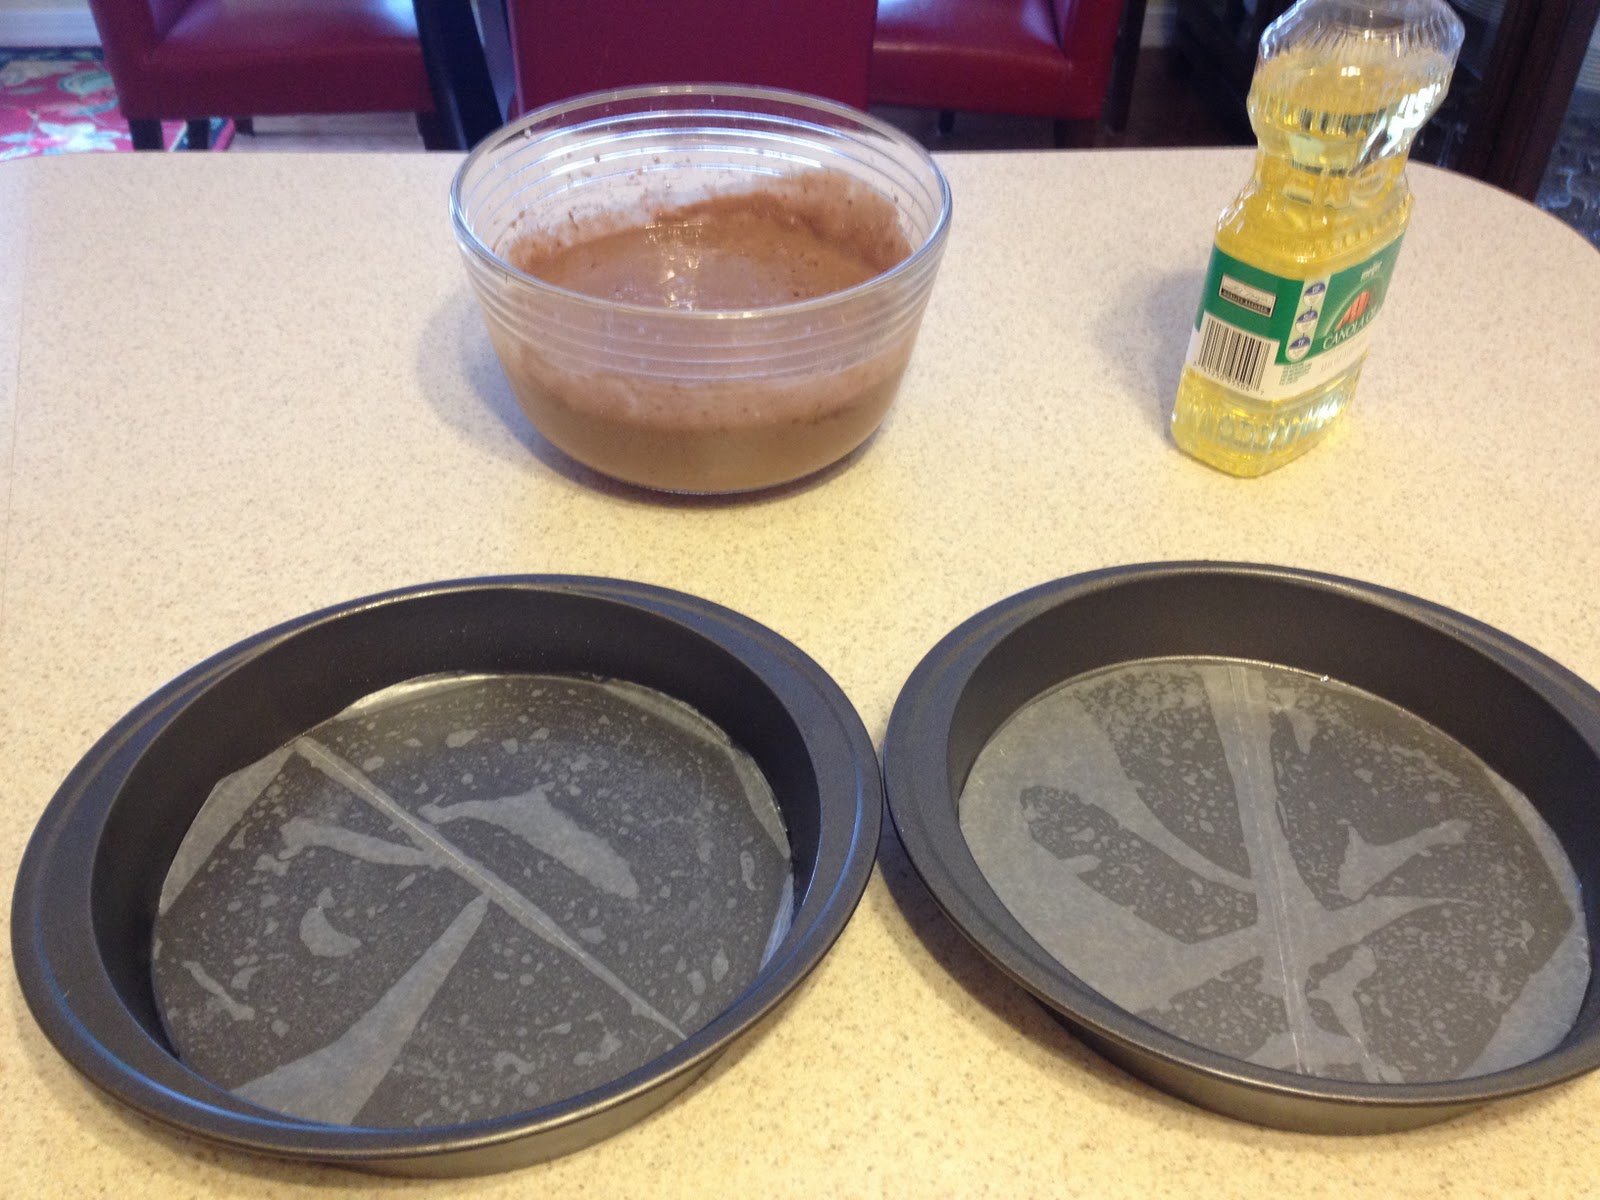
First, you must take one-third of the batter and dye it pink. I used a couple toothpick scoops of Wilton's RED RED icing dye, (Be VERY careful with that, it will dye ANYTHING it touches, sorry about the cabinets Mom!) which was then added to my smaller portion of the mixture. Then you bake it like it was its own little cake. Keep an eye on the time though, since it is thinner it doesn't take as long to bake as a normal sized cake would. Once cooled you take your heart-shaped cookie cutter and cut out little hearts :)

Like so!


I think it only gave me about maybe 9 hearts
total, I used a round baking pan for the "pink cake"


Initially I only put a dollop of cupcake
batter in the cupcake holders before placing
the heart on the inside and then I filled up the sides,
that turned out to be a huge mess. 


After discovering my mistake, I decided to 
fill the holders about half way and then pushing 
the hearts through it, and then filling up the sides


Be warned, my smallest heart cookie cutter
was too big for the cupcake holder. My cupcakes
were HUGE after baking...note to self:
find a smaller, more appropriately sized 
heart cookie cutter...


But after I iced them, my cupcakes looked
a little closer to normal. (Also, based on the pattern
on the cupcake holders, I knew where the heart on
the inside was.)


And that's how I knew to cut where I did 
in order to show you my heart on the inside :)


Close up!


Another angle


All my pretty cupcakes!


Happy Baking!

Sunday, January 22, 2012

Apple Pie Pops

Howdy Hey Bloggers!

I know it's been a while since I've blogged, and I apologize for that. Unfortunately, being a college student and with school starting, my new posts will probably only once a week. That being said, I was very happy to be back in the kitchen yesterday! And as a tribute to being back I decided to bake my famous Pie Pops. If you have never heard of one before, think of a cake pop, but it's a pie on a stick instead =]


First you have to peel two apples


You will chop one and a half


Add about a 1/4 cup of sugar


And about a Tablespoon of flour


Dash in cinnamon and nutmeg 


Mix together!


On cut out pie crust secure a lollipop stick with a 
small piece of dough and then
top with the apple mixture


Place another circle of pie crust on top
and secure the side with a fork


Brush on egg whites 


Bake at 350 degrees for 14-15 minutes


Should be golden brown 


Once cooled I wrapped them in plastic wrap 
and I tied them together with a ribbon


I first made these it was this past christmas, a berry pie pop, and I think they were a big hit! This time I thought I would make apple pie instead--an american classic with the twist of a stick! These are perfect for an on-the-go sweet snack, and it really is fun to eat!

peace&hearts,
G.

Sunday, January 15, 2012

Bella's Birthday!

Sorry for the delay in new posts everyone! But good news I just finished my latest baking venture, a double-layer chocolate cake. My mom's co-worker has a daughter, Bella, who is celebrating her 8th birthday. When I asked what kind of cake she wanted me to bake I was told one word and one word only: Chocolate. Seems fitting for an 8 year old girl to ask for and I was more than happy to create birthday cake for her. Bella had my strawberry cupcakes recently and she LOVED them. So I decided to be creative and decorate her cake with more strawberries. Here is how it turned out!


A trick I learned that helps with removal of 
cake from pans: line the bottom with wax paper


Then fill with cake batter and bake


I found some pretty pink sparkly icing and I 
wrote her name on wax paper to dry
and then place on the cake later


While the cake was baking I started
to dip the strawberries in white chocolate


Then to make her name really "pop" on the 
cake I decided to put polka dots on the
strawberries


Once the cake had cooled I iced it


Then I place the berries around the edge and 
her name in the center


Close up


Unfortunately in the middle of delivering the cake to Bella, for some reason a crack started to form near the center of the cake. The crack slowly somehow turned into a crater of sorts. It almost looked like my entire cake was a tectonic plate and an earthquake decided to destroy the world. Fortunately, Bella still loved the cake and so did her mom, so I guess I can still count it as a success!
peace&hearts,
G.